Bootstrap Radio Toggle
Introduction
In some cases the little things happen to be certainly the highly basic given that the complete pic is in reality a entirely consisting of a lot of little details finished and stacked in order to view and display like a well-oiled bright machine. Such bold phrases might just look a little too much whenever it comes down to make controls but if you just think about it for a little there is certainly just a single component permitting the visitor to grab one out of a few obtainable solutions.So in the event that you are actually having some forms through this form of options controls over your numerous web sites does this mean they are going to all look alike? And more importantly-- would you agree to that?
Luckily for us the most recent version of one of the most popular mobile phone friendly framework - Bootstrap 4 appears completely filled with a brilliant brand-new approach to the responsive activity of the Bootstrap Radio Toggle regulations and just what is bright new for this version-- the so called custom made form regulations-- a palette of predefined visual appeals you can absolutely simply take and apply for you to add the so wanted in today times range in the visual demonstrations of quite boring form parts. So let's check out the way the radio switches are expected to be described and styled in Bootstrap 4. ( learn more)
The way to work with the Bootstrap radio button:
For you to create a radio switch we primarily need a
<div>.form-check.form-check-inline.radio.radio-inline.disabledIn the
.form-check<label>.form-check-label<input>.form-check-inputtype = “radio”name = “ ~ same name for all the options ~ ”id = “ ~ unique ID ~ “value=” ~some value here ~ ”disabled<input>This is as well the place to identify assuming that you wish the radio control to initially load as checked the moment the page gets loaded. In the event that this is really what you're after-- instead of
disabledchecked<input>checkedCheckbox plus Bootstrap Radio Button for examples
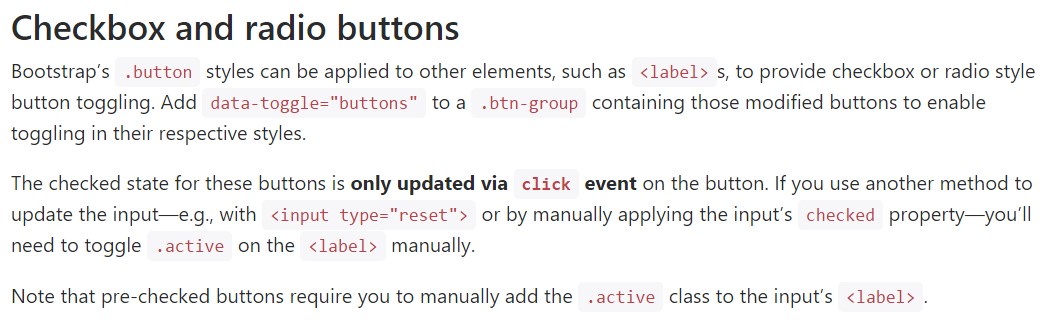
The checked state for these buttons is only updated via click event on the button.
Keep in mind that pre-checked buttons need you to manually add the
.active<label>Checkbox

<div class="btn-group" data-toggle="buttons">
  <label class="btn btn-primary active">
    <input type="checkbox" checked autocomplete="off"> Checkbox 1 (pre-checked)
  </label>
  <label class="btn btn-primary">
    <input type="checkbox" autocomplete="off"> Checkbox 2
  </label>
  <label class="btn btn-primary">
    <input type="checkbox" autocomplete="off"> Checkbox 3
  </label>
</div>
Radio

<div class="btn-group" data-toggle="buttons">
  <label class="btn btn-primary active">
    <input type="radio" name="options" id="option1" autocomplete="off" checked> Radio 1 (preselected)
  </label>
  <label class="btn btn-primary">
    <input type="radio" name="options" id="option2" autocomplete="off"> Radio 2
  </label>
  <label class="btn btn-primary">
    <input type="radio" name="options" id="option3" autocomplete="off"> Radio 3
  </label>
</div>
Radio button possibility
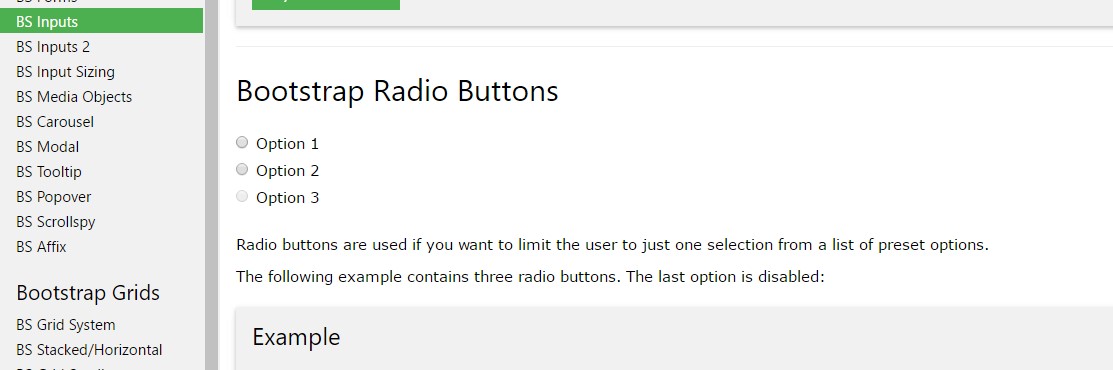
When we want the user to choose only one of a set of opportunities, we may apply input elements of the radio style. ( recommended reading)
Whenever there is over one element of this one style using the same value within the name attribute, only one can be chosen.

<div class="row">
  <div class="col-lg-6">
    <div class="input-group">
      <span class="input-group-addon">
        <input type="checkbox" aria-label="Checkbox for following text input">
      </span>
      <input type="text" class="form-control" aria-label="Text input with checkbox">
    </div>
  </div>
  <div class="col-lg-6">
    <div class="input-group">
      <span class="input-group-addon">
        <input type="radio" aria-label="Radio button for following text input">
      </span>
      <input type="text" class="form-control" aria-label="Text input with radio button">
    </div>
  </div>
</div>
Final thoughts
Primarily this is the way the default radio tabs get specified and work along within Bootstrap 4-- right now all you really need are certain possibilities for the visitors to pick from.
Check out a number of on-line video training relating to Bootstrap Radio Button:
Related topics:
Bootstrap buttons official information
Bootstrap Radio button - information
Checkbox radio buttons break entire toolbar styling
